
Plausible is a good fit when you want useful traffic numbers without sending every page view into Google's advertising stack. Community Edition runs the same core application on your own server, so you choose where the databases and backups live.
Plausible is open source, cookie-free web analytics. The dashboard covers page views, visitors, referrers, entry and exit pages, countries, devices, goals, and custom events without trying to build an advertising profile for each visitor.
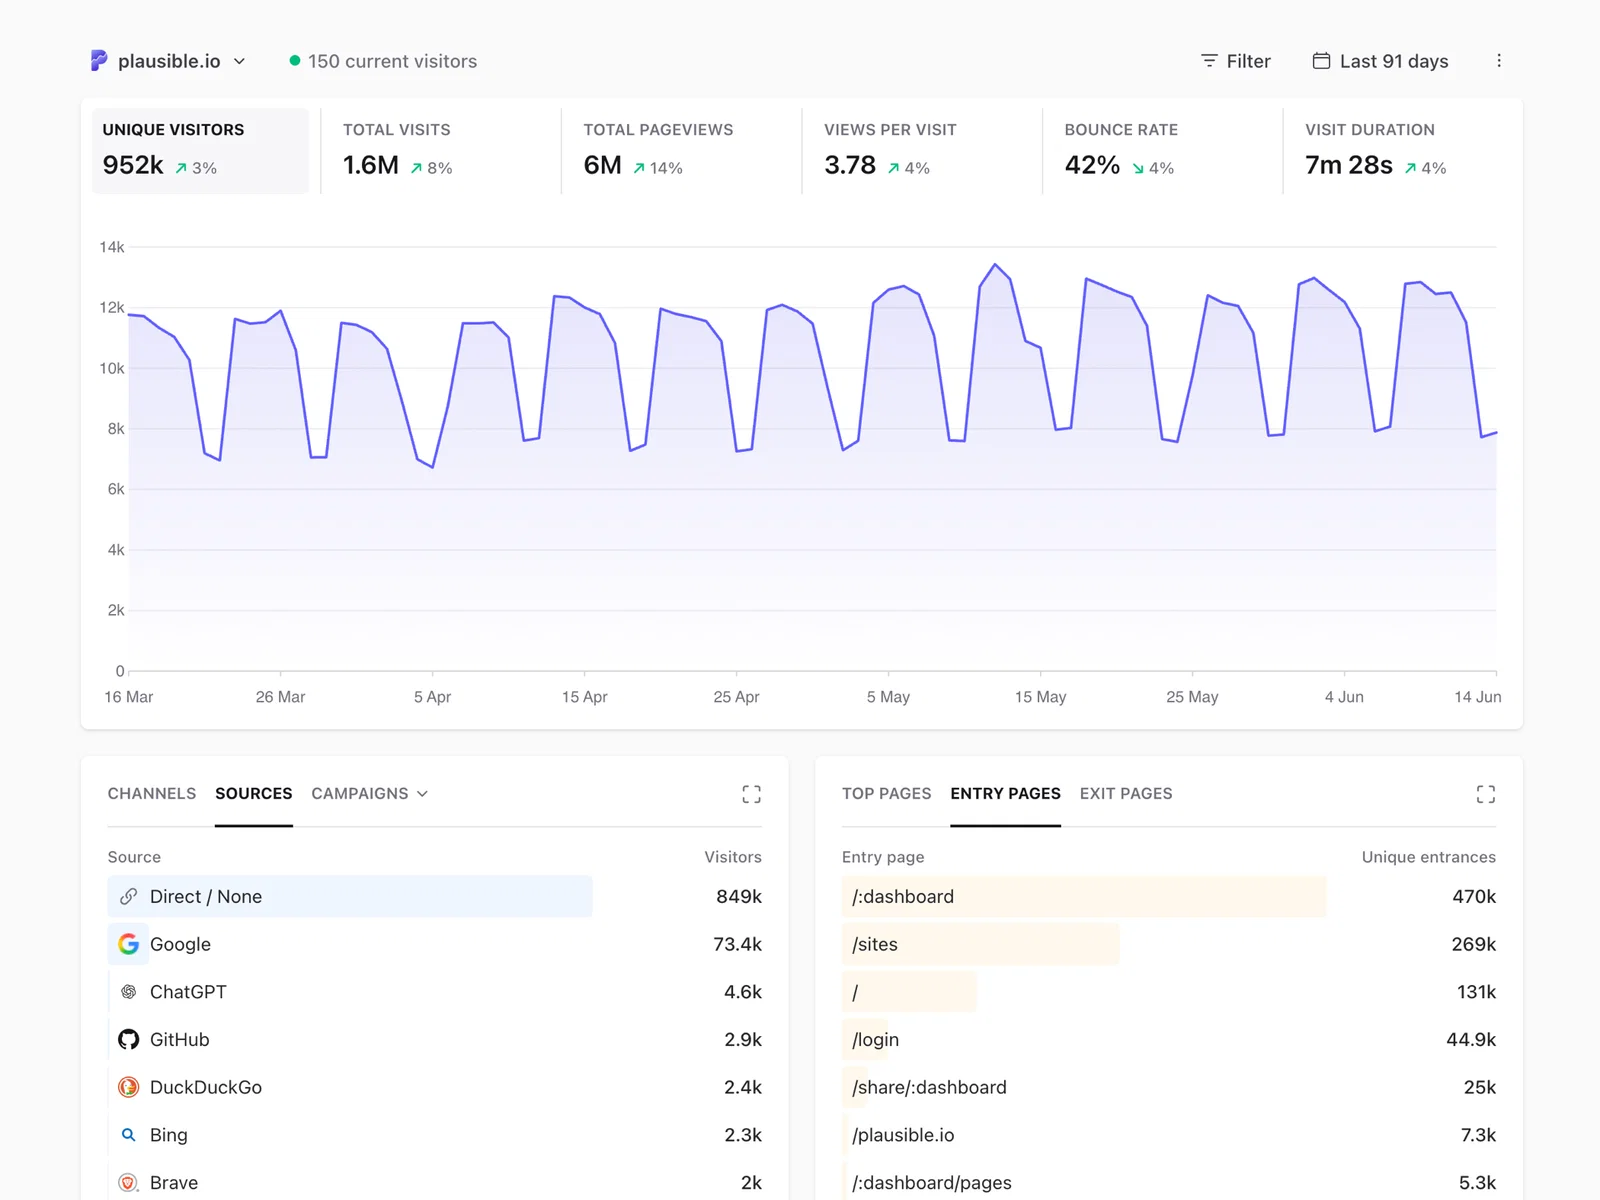
On a Linux VPS, the setup is Docker Compose behind Nginx and Let's Encrypt. We will keep the application port on localhost and finish with updates and backups. The analytics data stays with you, but the server maintenance does too.
What Plausible keeps on your server
Plausible splits its data between two databases. PostgreSQL holds accounts and site settings; ClickHouse holds the analytics events. According to Plausible's security and privacy documentation, the normal tracking flow uses no cookies and does not store raw visitor IP addresses or User-Agent strings. It creates a daily identifier with a rotating salt instead.
That is a much lighter data footprint than traditional advertising analytics, but self-hosting does not make a site compliant by default. Hosting location, Nginx logs, custom event properties, retention, access controls, and your privacy notice still count. Keep names, email addresses, account IDs, and other personal data out of custom properties.
ClickHouse sets the baseline for the server. The official Plausible Community Edition repository recommends at least 2 GB of RAM and a processor with SSE 4.2 or NEON support. For a small site, a QDE KVM VPS with at least 2 GB of RAM is a sensible starting point and gives you the root access needed for Docker. Start higher if you expect busy sites, long data retention, or several properties on one instance.
Before you begin
Have these ready:
- A fresh Debian, Ubuntu, CentOS Stream, Rocky Linux, or AlmaLinux server
- Root access or a user with
sudoprivileges - At least 2 GB of RAM
- A domain or subdomain such as
plausible.example.com - DNS A and, if used, AAAA records pointing to the server
- Ports 80 and 443 open in any host or provider firewall
We use plausible.example.com throughout the guide. Replace it with your real hostname, and wait for DNS to resolve before asking Certbot for a certificate.
1. Install the required system packages
On Debian or Ubuntu:
sudo apt update
sudo apt install -y git curl openssl ca-certificates
On CentOS Stream, Rocky Linux, or AlmaLinux:
sudo dnf install -y git curl openssl ca-certificatesNothing unusual here: Git handles the repository, curl downloads the Docker installer and checks local endpoints, OpenSSL generates the secrets, and the CA bundle keeps HTTPS downloads working.
2. Install Docker and Docker Compose
Docker's convenience script is the quickest route. Inspect it first if your server policy requires that, then run it:
curl -fsSL https://get.docker.com -o get-docker.sh
sudo bash get-docker.sh
On a production host with tighter package controls, follow the repository setup for your distribution in the Docker Engine installation guide instead.
If you are not logged in as root, add your current user to the docker group:
sudo usermod -aG docker $USERThe group change takes effect after you log out and back in. If you want to continue in the current session, start a new shell with:
newgrp dockerTreat membership in the docker group as root access, because that is effectively what it grants. Only add trusted administrator accounts. Docker covers the details in its Linux post-installation guide.
Enable Docker at boot and confirm both Docker Engine and the Compose plugin are available:
sudo systemctl enable --now docker
docker version
docker compose version
If either version command fails, fix Docker before moving on. The rest of the guide assumes both Engine and Compose are working.
3. Clone Plausible Community Edition
Clone the official repository and print the branch Git checked out:
git clone https://github.com/plausible/community-edition plausible
cd plausible
git branch --show-current
Plausible CE uses a separate branch for each release, and compose.yml pins the matching application image. The clone command leaves out -b, so Git checks out whichever version branch the repository currently marks as default. Compare the printed branch with the current official quick start before moving on. Keep that branch name in mind: a normal git pull will not jump to the next release later.
The repository includes Plausible, PostgreSQL, ClickHouse, and a set of conservative ClickHouse settings. Put your local configuration in .env and compose.override.yml; leave the tracked compose.yml alone. That avoids needless merge conflicts when it is time to upgrade.
4. Configure the environment
Start with an empty environment file:
touch .envAdd the public URL, then generate separate secrets for sessions and encrypted TOTP data:
echo "BASE_URL=https://plausible.example.com" >> .env
echo "SECRET_KEY_BASE=$(openssl rand -base64 48)" >> .env
echo "TOTP_VAULT_KEY=$(openssl rand -base64 32)" >> .env
chmod 600 .env
SECRET_KEY_BASE must stay the same after installation. Plausible uses it for sessions and other derived secrets. TOTP_VAULT_KEY protects two-factor authentication secrets at rest.
The TOTP key is optional. Without it, Plausible derives one from SECRET_KEY_BASE with PBKDF2. We set a separate random value anyway. Back up .env securely, and never paste either secret into a ticket, chat, or screenshot.
One small gotcha: the TOTP_VAULT_KEY assignment has one equals sign before the generated value. If the OpenSSL output ends in =, that character belongs to the Base64 value.
The official configuration reference covers the remaining options, including registration, SMTP, geolocation, database URLs, and Docker secrets.
5. Bind Plausible to localhost port 8000
Write the internal HTTP port to .env:
echo "HTTP_PORT=8000" >> .envPlausible already defaults to port 8000. Writing it down makes the relationship between .env and the override file obvious when you come back to this setup months later.
Create compose.override.yml so Docker publishes that port only on 127.0.0.1:
cat > compose.override.yml <<'EOF'
services:
  plausible:
    ports:
      - "127.0.0.1:8000:${HTTP_PORT}"
EOF
The quotes around 'EOF' are doing real work. They leave ${HTTP_PORT} untouched until Docker Compose reads .env. Without the quotes, your shell can expand an unset variable first and write a broken port mapping.
Let Compose parse the merged configuration before starting anything. The --quiet flag checks the file without printing your secrets:
docker compose config --quietPlausible will now listen at 127.0.0.1:8000, where only the server itself can reach it. That is what we want. Nginx will handle the public traffic.
6. Start Plausible
Pull the container images and start the stack:
docker compose pull
docker compose up -d
The first start is not instant. PostgreSQL and ClickHouse need to pass their health checks before Plausible can set up its databases. Give the stack a moment, then check it:
docker compose ps
docker compose logs --tail=100 plausible
Once the containers are up, test the local HTTP endpoint:
curl --head http://127.0.0.1:8000Any HTTP response confirms that the host can reach Plausible. If the connection fails, run docker compose logs --tail=200 and fix the container error before adding Nginx to the mix.
7. Configure Nginx as the reverse proxy
Install Nginx, Certbot, and Certbot's Nginx plugin.
On Debian or Ubuntu:
sudo apt update
sudo apt install -y nginx certbot python3-certbot-nginx
On CentOS Stream, Rocky Linux, or AlmaLinux:
sudo dnf install -y epel-release
sudo dnf install -y nginx certbot python3-certbot-nginx
The configuration path differs by distribution. On Debian or Ubuntu, create:
/etc/nginx/sites-available/plausible.example.com.confOn CentOS Stream, Rocky Linux, or AlmaLinux, create:
/etc/nginx/conf.d/plausible.example.com.confPut the same server block in either file:
upstream plausible {
    server 127.0.0.1:8000;
}

server {
    listen 80;
    listen [::]:80;

    server_name plausible.example.com;

    location / {
        proxy_pass http://plausible;
        proxy_http_version 1.1;

        proxy_set_header Host $host;
        proxy_set_header X-Real-IP $remote_addr;
        proxy_set_header X-Forwarded-For $proxy_add_x_forwarded_for;
        proxy_set_header X-Forwarded-Proto $scheme;
    }

    location /live/websocket {
        proxy_pass http://plausible;
        proxy_http_version 1.1;

        proxy_set_header Host $host;
        proxy_set_header X-Forwarded-For $proxy_add_x_forwarded_for;
        proxy_set_header X-Forwarded-Proto $scheme;
        proxy_set_header Upgrade $http_upgrade;
        proxy_set_header Connection "Upgrade";
    }
}
The /live/websocket block is easy to miss, but the live dashboard needs it. The other headers pass the original hostname, client chain, and request scheme to Plausible. This setup follows Plausible's reverse proxy guidance and adds the usual forwarded headers.
On Debian or Ubuntu, enable the site:
sudo ln -s /etc/nginx/sites-available/plausible.example.com.conf /etc/nginx/sites-enabled/If that symlink already exists, leave it alone.
On CentOS Stream, Rocky Linux, or AlmaLinux with SELinux enforcing, Nginx also needs permission to reach the local upstream:
sudo setsebool -P httpd_can_network_connect 1Test the configuration, enable Nginx at boot, and reload it:
sudo nginx -t
sudo systemctl enable --now nginx
sudo systemctl reload nginx
Treat nginx -t as a gate. Fix every reported error before requesting a certificate.
8. Add HTTPS with Certbot
With DNS resolving and ports 80 and 443 reachable, let Certbot request the certificate and update the Nginx virtual host:
sudo certbot --nginx -d plausible.example.comRun one more configuration test before reloading Nginx:
sudo nginx -t
sudo systemctl reload nginx
Check the public endpoint from the command line:
curl --head https://plausible.example.comTest certificate renewal now, while the setup is still fresh:
sudo certbot renew --dry-run9. Create the first user and restrict registration
Open https://plausible.example.com and register the first user. Add your website in the dashboard, then copy Plausible's tracking snippet into the site's <head>.
Plausible defaults to invitation-only registration after the first account is set up. We still write the value to .env, so the intended behavior is obvious the next time someone reads the file:
echo "DISABLE_REGISTRATION=invite_only" >> .env
docker compose up -d
Invited users can still register with this setting. Use DISABLE_REGISTRATION=true only when you want to block every new account, invitations included.
Take one final look at the stack:
docker compose ps
docker compose logs --tail=100 plausible
Update Plausible
Plausible's release model is easy to miss. Every release gets its own version branch, and security fixes are not backported to old versions. A plain git pull stays on the branch you already have; docker compose pull then reads the image tags from that same branch. Both commands can finish successfully while Plausible remains on the old release.
Before upgrading, read the project's release page and upgrade guide. Some releases have extra steps for PostgreSQL or ClickHouse. Take a backup first, then replace vX.Y.Z below with the exact target branch from the release notes:
cd plausible
git status --short
git pull origin vX.Y.Z
docker compose pull
docker compose up -d
docker compose pull is optional here. It refreshes every image in the new Compose file, but git pull origin vX.Y.Z is the command that selects the Plausible release by updating the pinned image. If Git reports a conflict, stop and resolve it. The same goes for any extra migration step in the release notes.
Check the containers and the Plausible log after the upgrade:
docker compose ps
docker compose logs --tail=100 plausible
Because the local port binding lives in compose.override.yml, the tracked compose.yml stays clean and is less likely to conflict during git pull origin vX.Y.Z.
Keep application-level backups
A server snapshot is useful, but Plausible keeps important state in both PostgreSQL and ClickHouse volumes. Back up both databases, keep a copy outside the VPS, and run at least one test restore. Discovering an incomplete backup after a failure is too late.
QDE includes daily offsite VPS backups, giving you another recovery point for server-wide mistakes. Treat them as an extra layer underneath your database backups, not a replacement for them.
Once those checks pass, add the tracking snippet and wait for the first visits to appear. From then on, it is ordinary server care: read the release notes, apply updates, watch storage, and make sure the backups still restore.